The Noise Comes From Inside the Rack: Auditing RF Self-Interference in a Dense SIM Farm
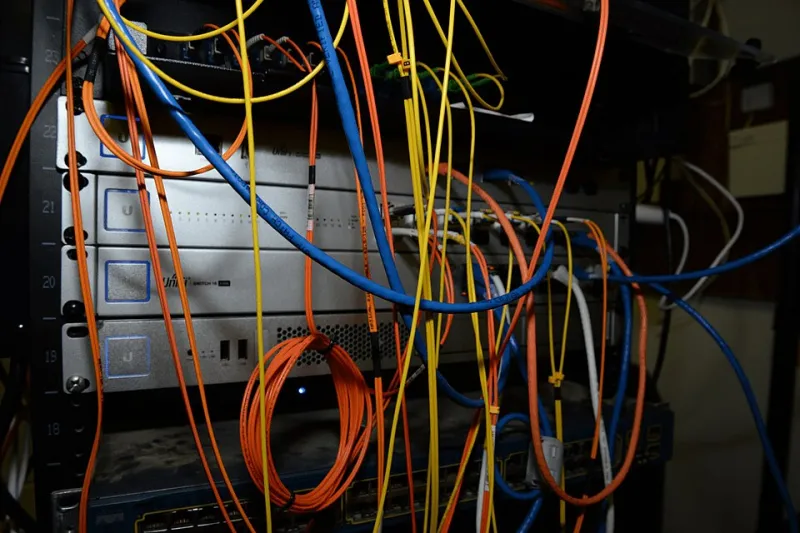
Photo: Federal Bureau of Investigation, Public domain, via Wikimedia Commons
Every dense modem rack eventually produces a carrier ticket that goes nowhere. You are sure the network is dropping calls. The carrier is sure its sites are fine. Somewhere in the middle, your rack is quietly making its own noise, and that noise can look exactly like a bad tower.
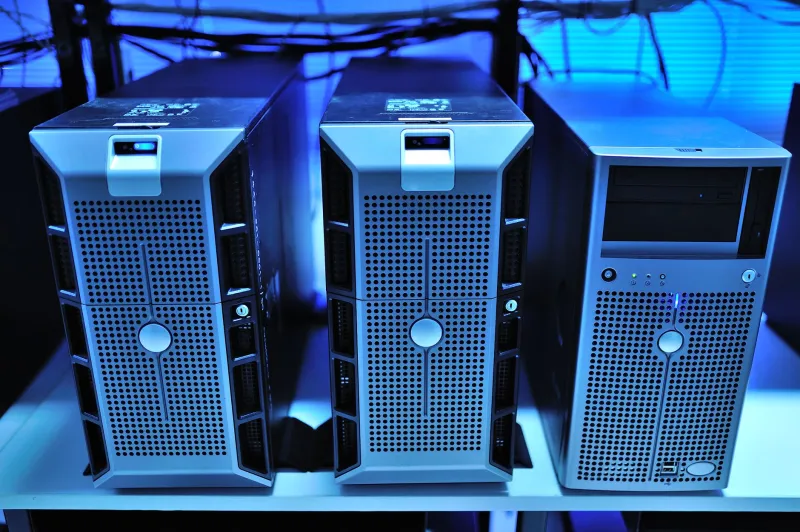
That is the awkward part of running a SIM farm in the US: once you pack dozens or hundreds of radios into a few square feet, you are no longer just a server operator. You are running a small, unlicensed RF neighborhood. Modems, USB hubs, power supplies, antennas, and metal enclosures all interact. The result can be retries, failed registrations, slow call setup, and signal readings that bounce around for no obvious reason.
This is not a lab-grade RF engineering procedure. It is a practical audit you can run in an afternoon with a laptop, a cheap SDR, and a spreadsheet. The goal is simple: find out whether your own hardware is contributing to the problem before you spend another week blaming the carrier.
Start with a baseline you can actually compare
Do not start by moving antennas. Start by writing down what normal looks like. Pick a fixed test window, ideally the same hour on two or three different days, and capture the stuff you already monitor: call success rate, average call setup time, registration failures, retry counts, and signal quality metrics such as RSSI, RSRP, RSRQ, and SINR if your modems expose them.
Use the same SIMs, the same carrier profile, and the same test destination. If you change three things at once, you will learn nothing. A simple spreadsheet is fine. The point is to have a before number that you can compare against after you make changes.
Also note the physical state of the rack: fan speed, room temperature, USB topology, and whether anyone recently added modems or antennas. Dense farms drift. A rack that was fine in January can become a noise problem by March because someone stacked six new modems on the same shelf.
Map the rack like it is a radio site
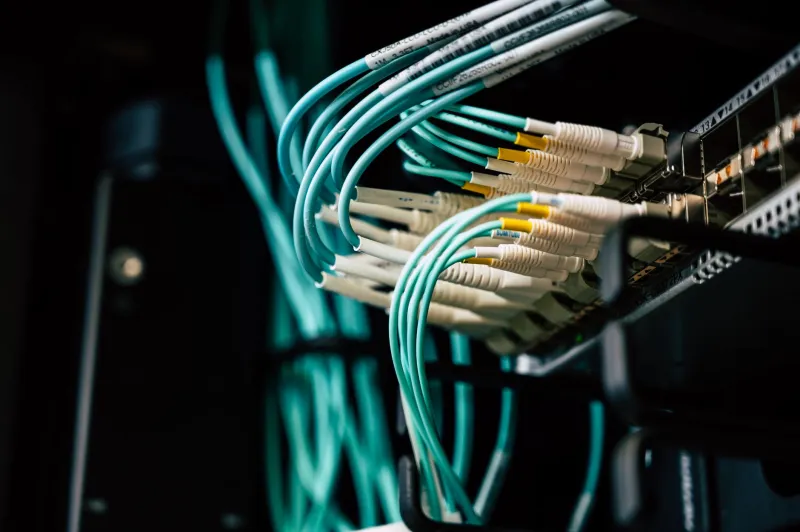
Take a photo of the front and back of the rack. Label each modem bank, antenna, USB hub, power strip, and cable bundle. You do not need CAD drawings. You need to know which antennas are close to which power supplies, which modems share a USB controller, and which enclosures are metal versus plastic.
This matters because self-interference is often a placement problem, not a mysterious carrier problem. Antennas lying flat against a metal rail, coax coiled tightly next to a switching power supply, or a row of modems packed with no spacing can all create weird results. A rack map gives you a way to move one thing and put it back exactly where it was if the test goes sideways.
Let a cheap SDR be your ears
An RTL-SDR dongle and a laptop will not replace a spectrum analyzer, but they are good enough to spot obvious broadband hash, strong spikes, and harmonics in the bands you care about. As of 2026, these dongles are cheap enough that there is little excuse not to have one in the toolkit.
Use it as a listener, not a transmitter. Sweep the downlink bands your modems use, then compare three states: rack powered off, modems idle, and modems under test load. Look for noise that appears only when the farm is active. A wall of broadband noise that rises with modem activity is a strong hint that something inside the rack is contributing.
The SDR will not tell you the exact source. It will tell you whether the noise floor changes when your hardware changes state. That is enough to justify a more careful look.
Clean up antenna placement before buying anything
Before you order shielded boxes, try the boring stuff. Get antennas vertical and separated. Avoid stacking them directly against metal. Keep coax runs short where possible, and do not coil excess cable into a tight loop next to a power supply. Route USB and power cables away from antenna feeds. Cheap USB cables can radiate more than you expect, especially when they are long and unshielded.
Change one variable at a time. Move one bank of antennas, run the same test window, and compare the numbers. If call success improves, keep it. If nothing changes, put it back. This is slow, but it is cheaper than guessing.
Shielded enclosures are an experiment, not a religion
A metal enclosure can help, but only if you treat it as a controlled test. Do not fully enclose antennas and expect magic. Shield the noisy electronics, keep antennas outside, and make sure any enclosure is grounded according to the manufacturer's instructions. Use shielded USB cables and ferrite beads where they make sense, but add them one at a time so you know what actually helped.
The useful question is not whether shielding is good in general. The useful question is whether shielding this modem bank, in this rack, changes your call-success rate and signal-quality readings. If it does, you have data. If it does not, you have saved yourself a lot of money.
Prove it with before-and-after call metrics
Run the same test window you used for the baseline. Compare call success rate, average setup time, retry counts, and registration failures. Do not rely on a single good hour. Run the test at least twice after a change, ideally on different days.
A small improvement might be noise. A consistent jump in call success and a drop in retries after you fix antenna placement is worth keeping. If the numbers get worse, roll back. The audit is not about making the rack look tidy. It is about reducing self-interference without breaking what already works.
If the noise floor stays ugly even with the rack powered down, or if the SDR shows strong outside signals that track with carrier problems, then you have a different conversation to have. Document your tests, save the screenshots, and take that evidence to the carrier. Blaming the network is a lot more persuasive when you can show that your own rack was quiet during the failure.